Installing a Graphics Card In Your Mac Pro 1,1, 2,1, or 3,1 (2006 or 2008)
|

Figure 1

Figure 2
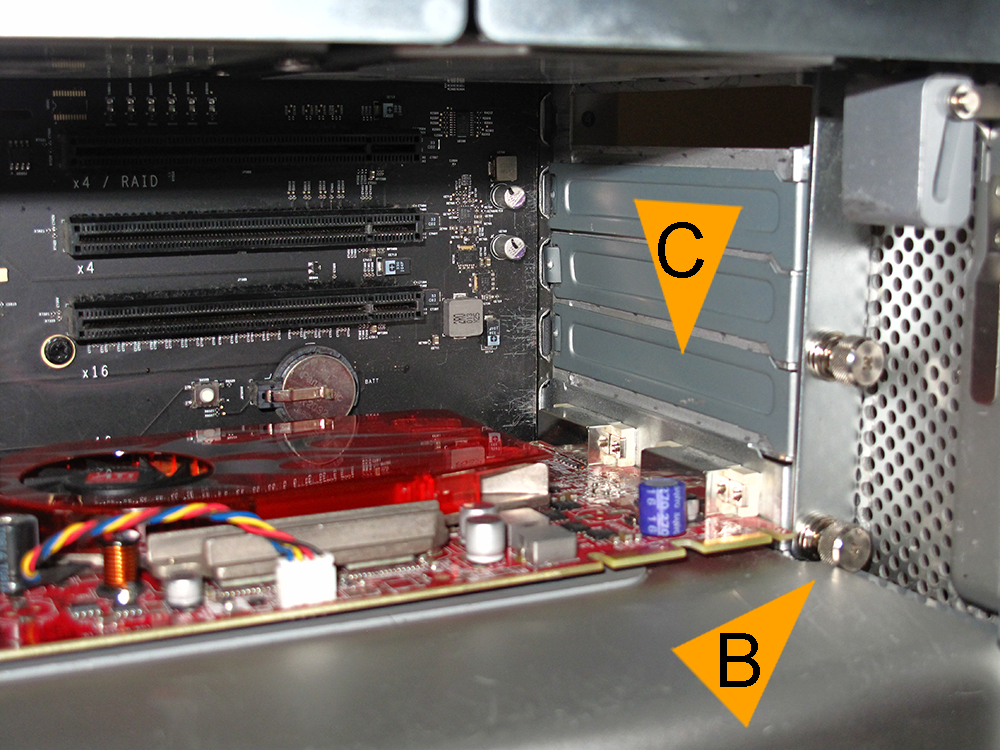
Figure 3
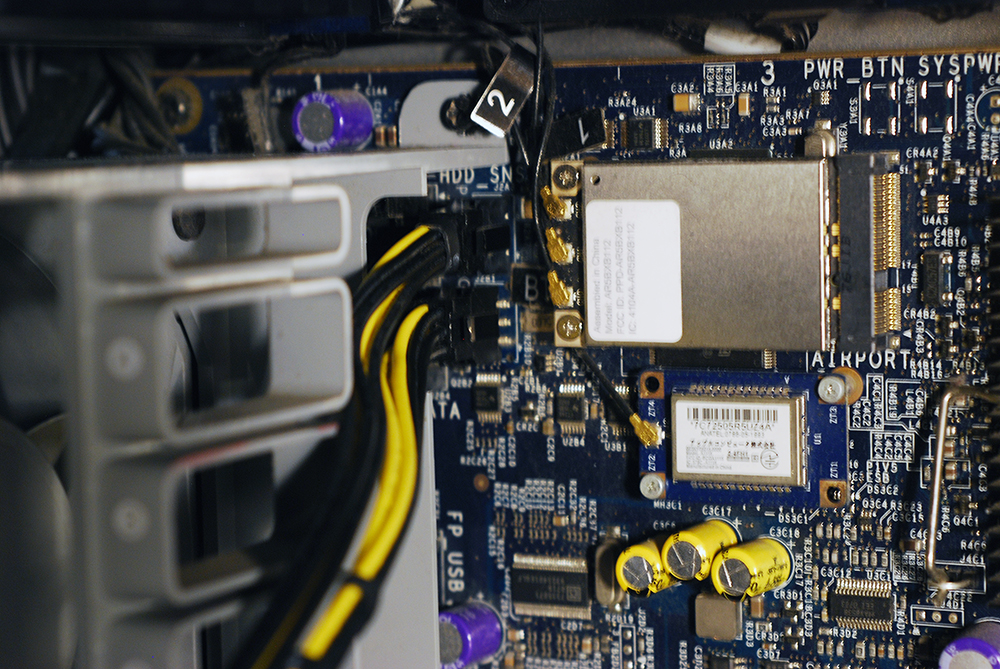
Figure 4
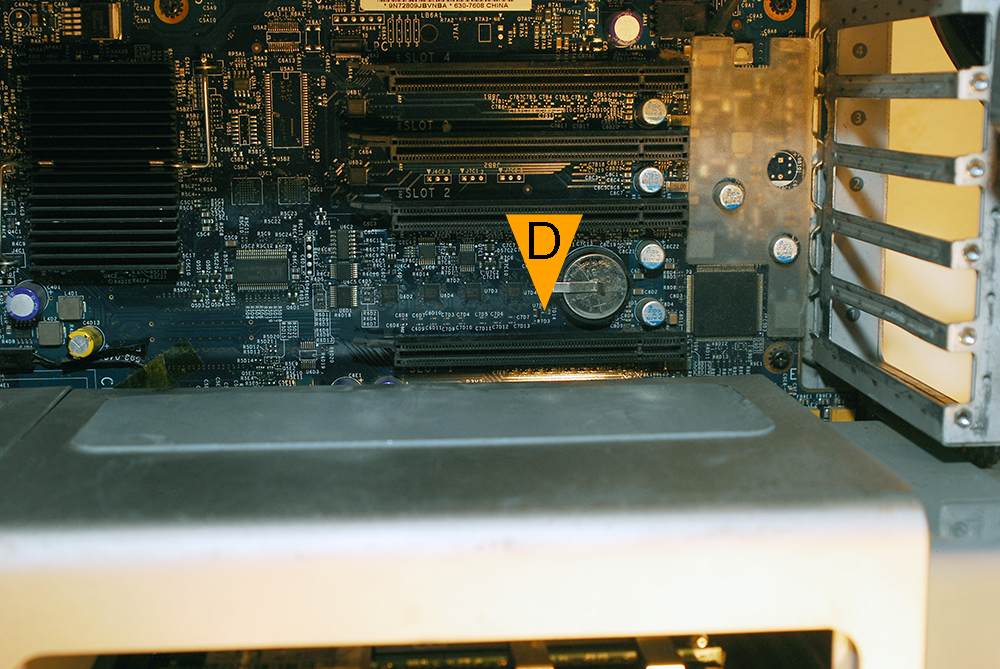
Figure 5
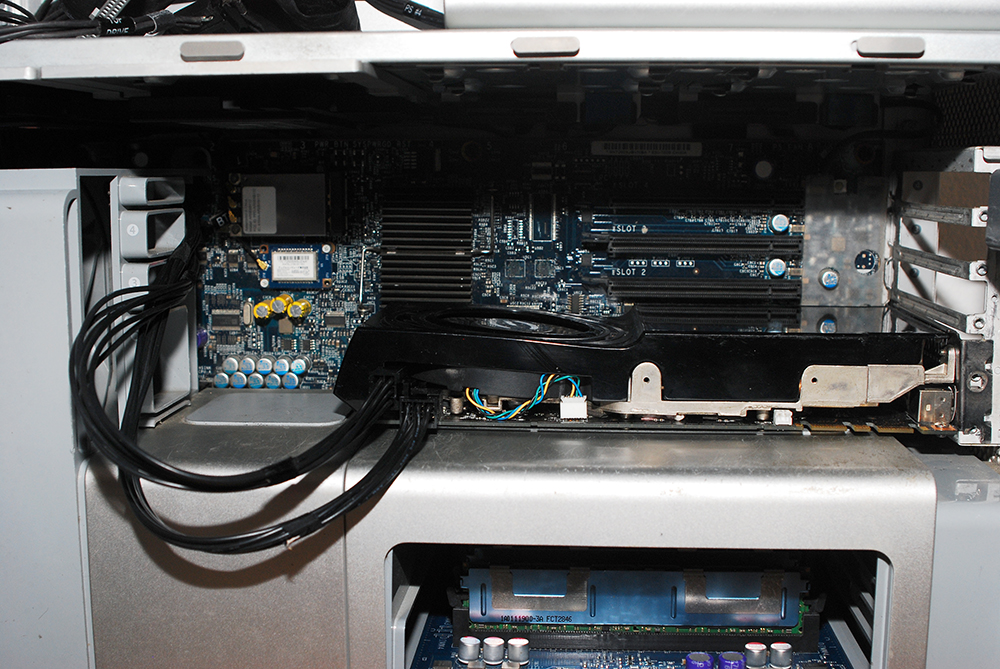
Figure 6
|
|
Figure 1
Figure 2
Figure 3
Figure 4
Figure 5
Figure 6
|